Getting Started

Learn to create a Hugo FixIt site in minutes.
The following steps are here to help you initialize your new website. If you don’t know Hugo at all, we strongly suggest you learn more about it by following this great documentation for beginners. Or if you already know Hugo, you can start directly with a template:
1 Prerequisites
Thanks to the simplicity of Hugo, Hugo is the only dependency of this theme.
Just install latest version of Hugo extended edition(>= 0.112.0) for your machine (macOS, Linux, Windows, BSD, and any machine that can run the Go compiler tool chain).
2 Create a Site
Hugo provides a new command to create a new website:
| |
3 Install the Theme
The repository of FixIt themeInitialize an empty Git repository in the current directory.
Clone the FixIt theme into the themes directory, adding it to your project as a Git submodule.
| |
And later you can update the submodule in your site directory to the latest commit using this command:
| |
4 Basic Configuration
The following is a basic configuration for the FixIt theme:
| |
5 Add Content
Here is the way to create your first post:
| |
Hugo created the post file in the content/posts directory.
Open it with your editor and feel free to edit it by adding some sample content and replacing the title value in the beginning of the file.
| |
draft: true from the metadata, set the property draft: false or add -D/--buildDrafts parameter to hugo command in the following steps.6 Launching the Site
Save the file, then launch the website locally by using the following command:
| |
hugo server, when the contents of the files change, the page automatically refreshes with the changes.Since the theme use .Scratch in Hugo to implement some features,
it is highly recommended that you add --disableFastRender parameter to hugo server command for the live preview of the page you are editing.
| |
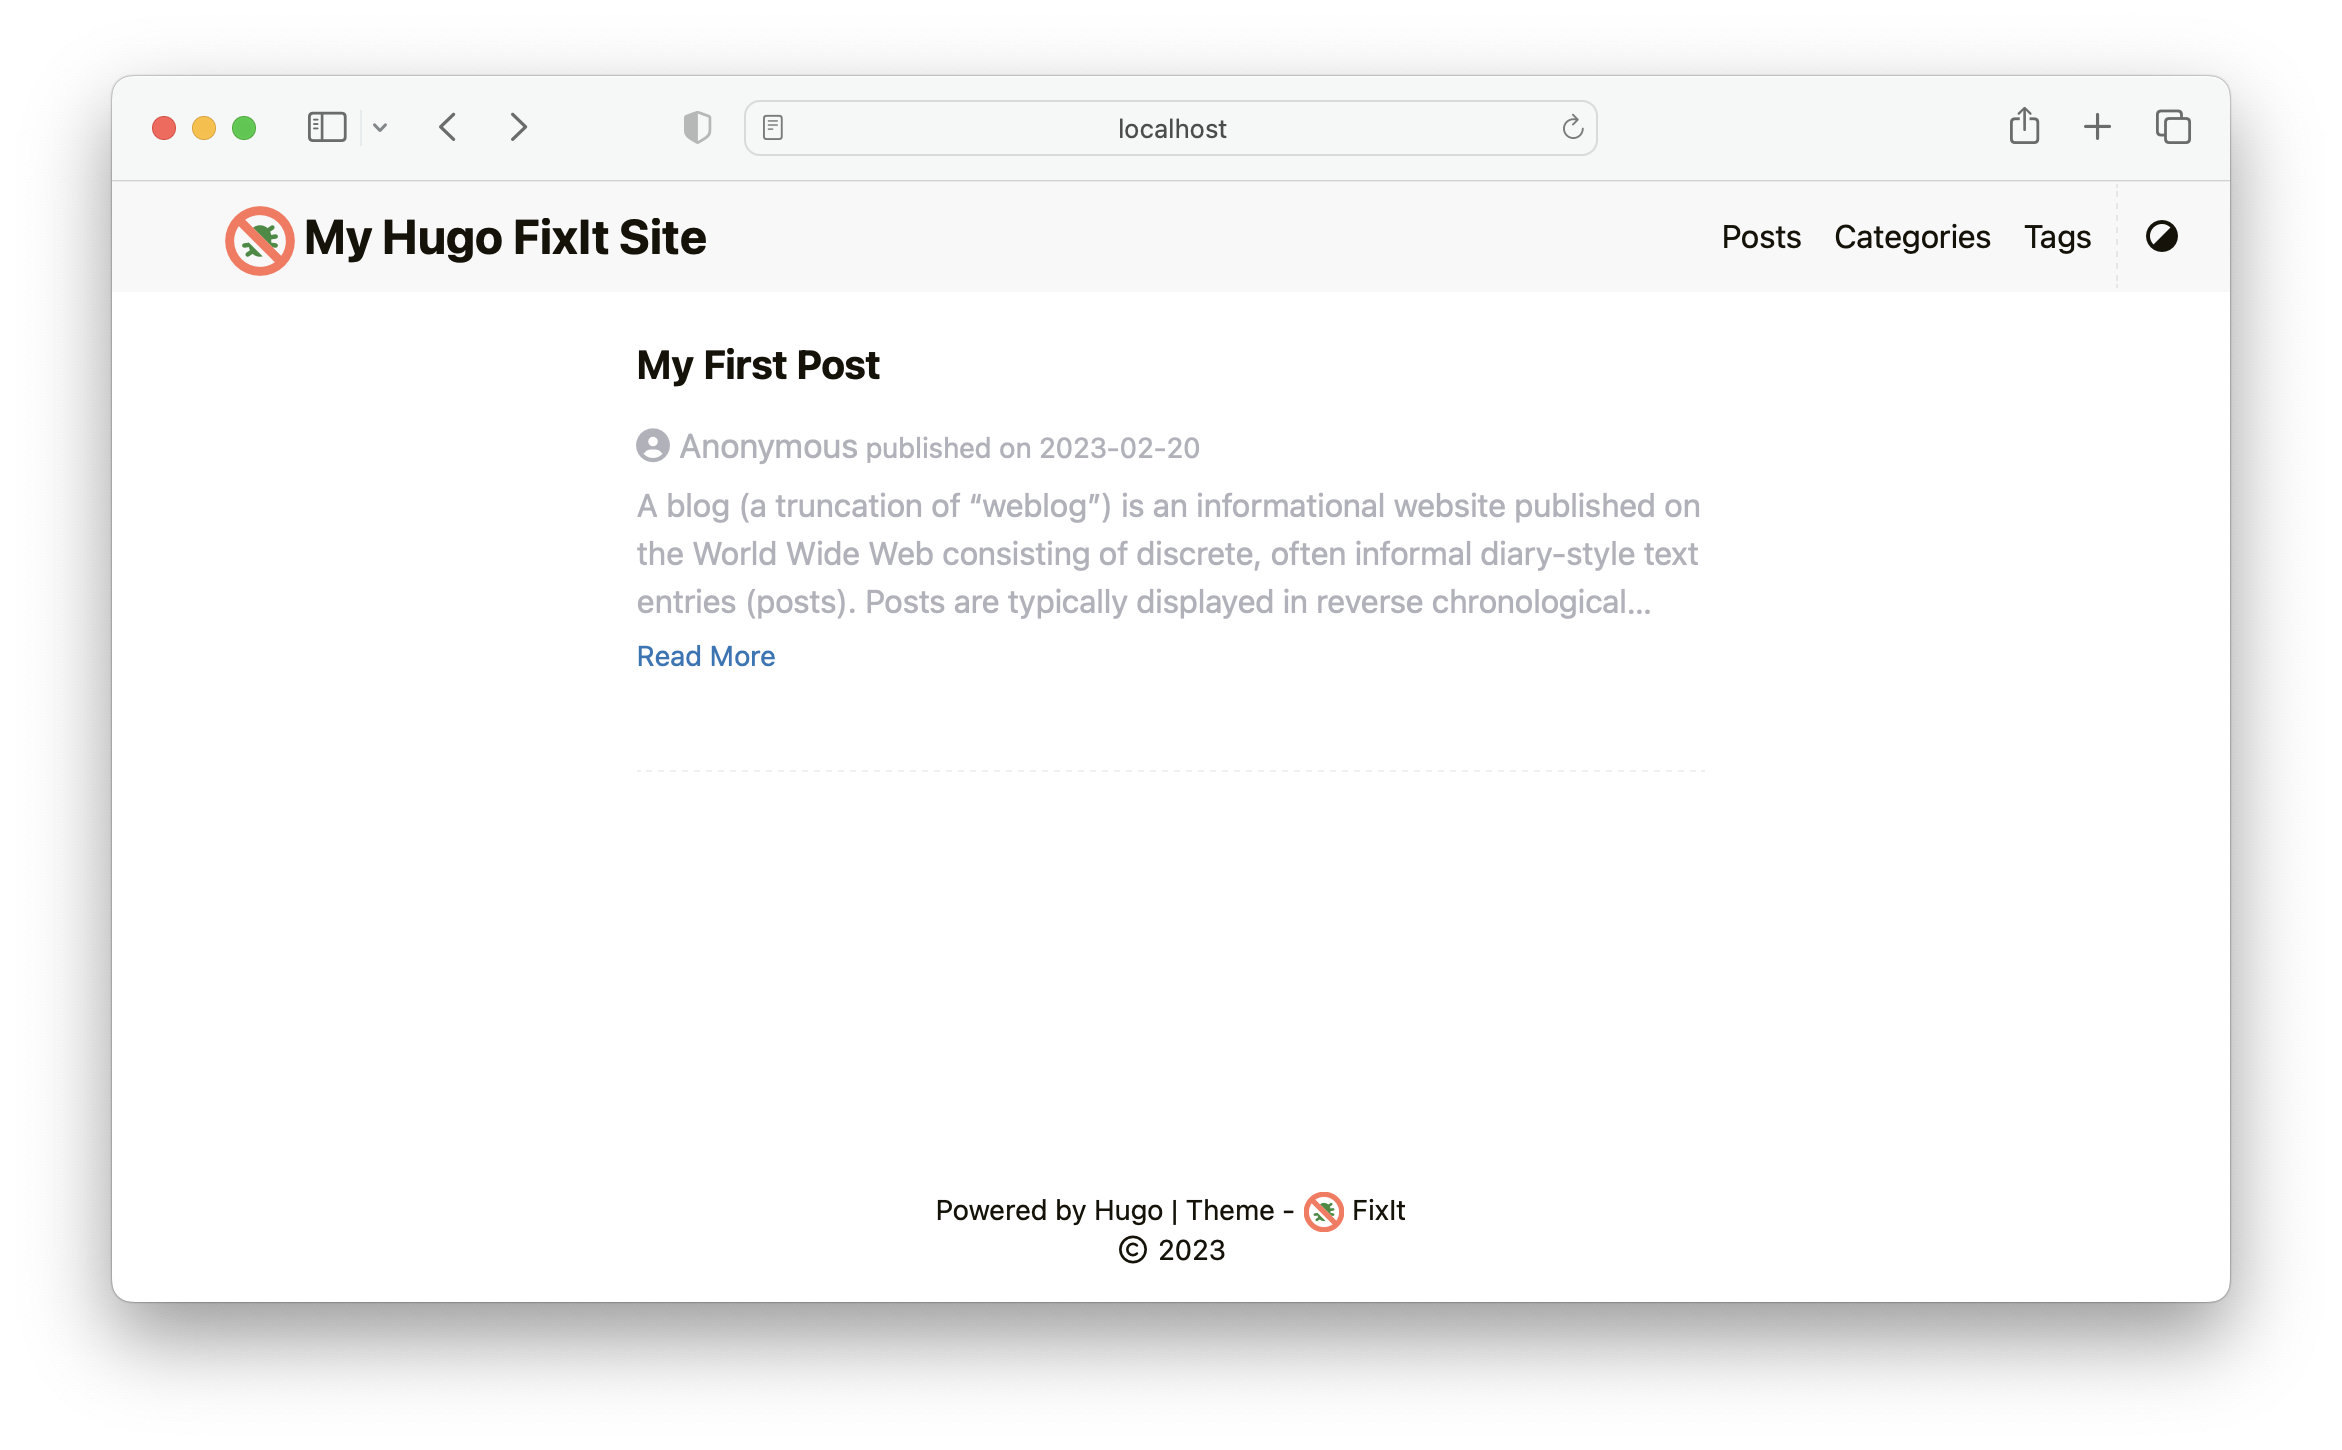
Go to http://localhost:1313.
7 Build the Site
When your site is ready to deploy, run the following command:
| |
A public folder will be generated, containing all static content and assets for your website. It can now be deployed on any web server.
Most of our users deploy their sites using a CI/CD workflow, where a push1 to their GitHub or GitLab repository triggers a build and deployment. Popular providers include Vercel2, Netlify3, AWS Amplify, CloudCannon, Cloudflare Pages, GitHub Pages and GitLab Pages.
Learn more in the hosting and deployment section.
8 Ask for help
All feedback is welcome! Head over to the issues or discussions tracker.
The Git repository contains the entire project directory, typically excluding the public directory because the site is built after the push. ↩︎
Related Content
 Alipay
 WeChat Pay
